The Rescribe OCR tool now has a graphical interface, but it can also be used with just a command line. This could be useful in for use in scripts, automation, or server environments (though for the latter you may also want to look at the tour of our tools post as the bookpipeline package may be better suited to you).
Start by opening up a terminal window. If you’re on Windows, you can type cmd.exe into the run box, on OSX it’s under Applications → Utilities → Terminal, and if you’re on Linux I bet you already know where to find your terminal.
Firstly, navigate to the folder where you downloaded the tool, by running the cd command, for example cd Documents/OCR.
If you’re on Linux or OSX you will probably need to make the program executable after downloading it, so do that now by running chmod +x rescribe. You’ll only have to do that once.
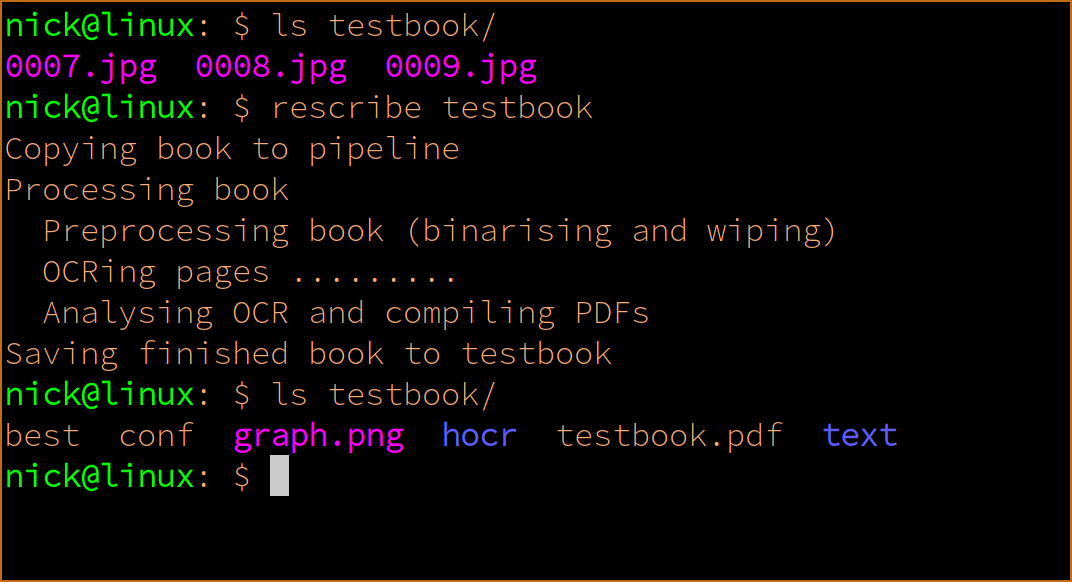
You use rescribe by giving it the name of the directory containing the book or manuscript pages you want to OCR. Basic usage looks like this:
./rescribe mybook
This will run rescribe over all pages in the directory mybook.
Rescribe contains a set of OCR models built in, and it defaults to one trained specifically for historic printed Latin books. To see the other models available, run ./rescribe by itself, and you will see the list. You can then choose an alternative model by using the -t flag, for example to use a model trained for Caroline Miniscule manuscripts, you would run:
./rescribe -t carolinemsv1_fast.traineddata mybookIf you have another model you would like to use, you can just put it in the same folder as rescribe and use its file name after -t.